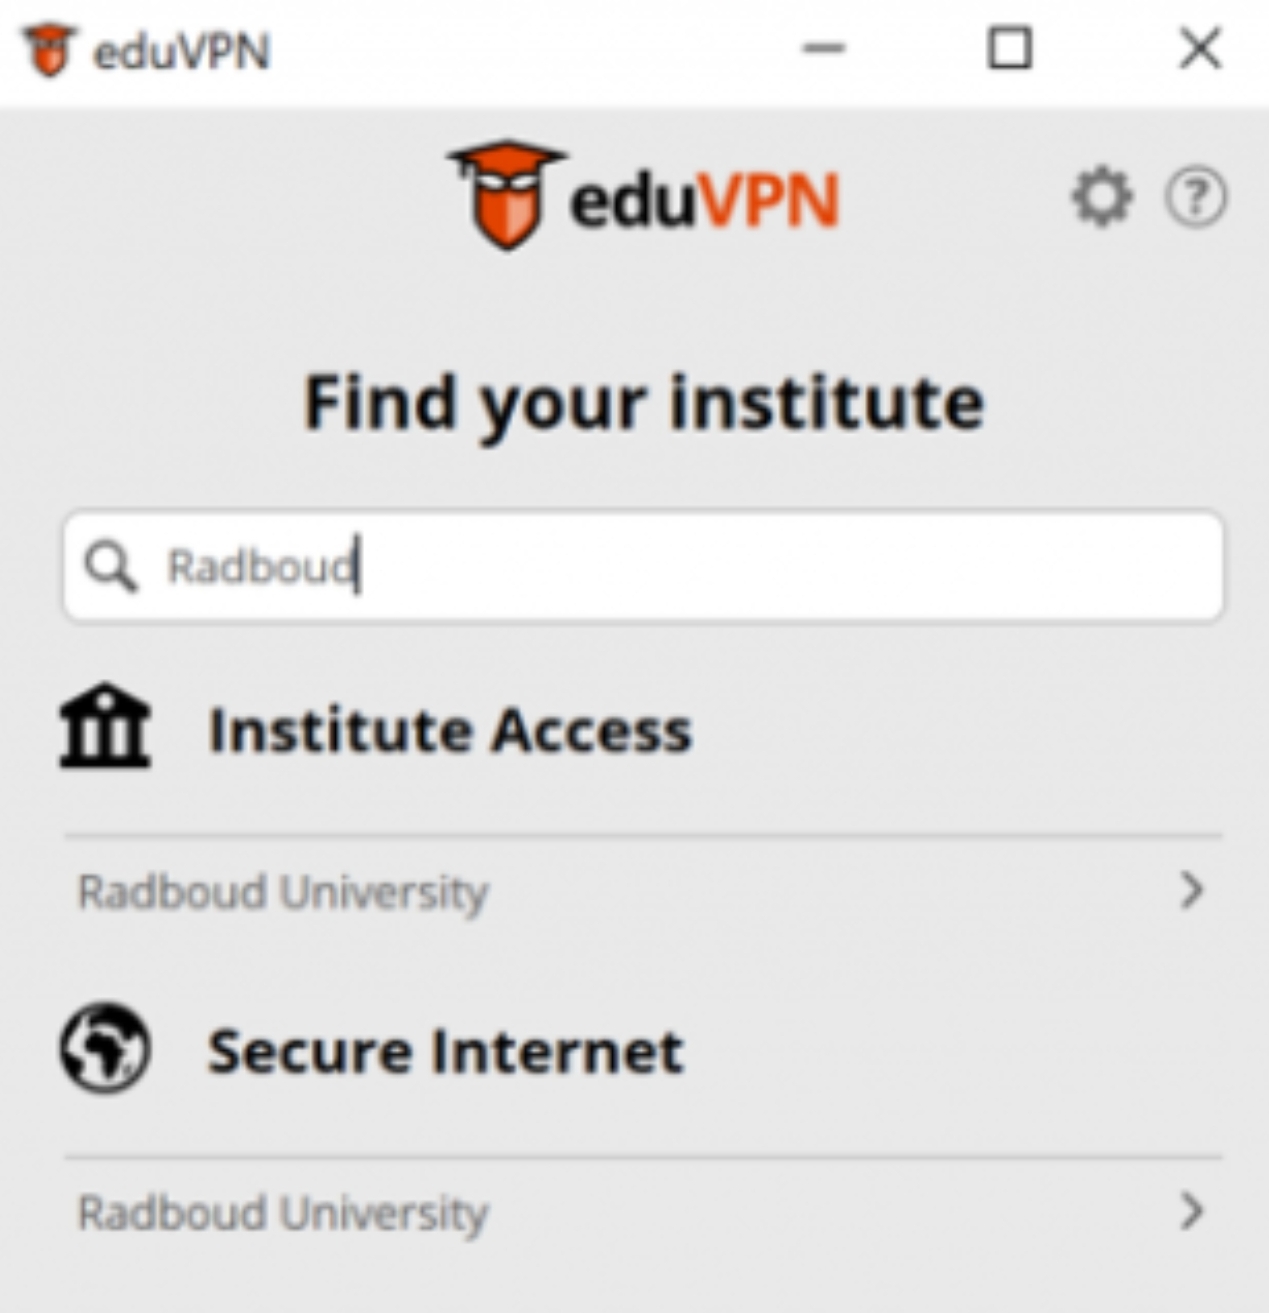
Difference between revisions of "Netwerk draadloos WM6handleiding"
m |
|||
(8 intermediate revisions by one other user not shown) | |||
Line 4: | Line 4: | ||
[nl] | [nl] | ||
# '''Windows instellingen''':<br /><br /> | # '''Windows instellingen''':<br /><br /> | ||
+ | #* Als het erg lang geleden is dat u uw wachtwoord gewijzigd hebt, doe dat eerst. Voor "Science" kan dat op [http://dhz.science.ru.nl de Doe-Het-Zelf website], voor "ru-wlan" op [http://www.ru.nl/wachtwoord de RU-wachtwoord website]. | ||
#* Klik op "Start" → "Instellingen". <br /><br />[[Image:WMwifi-002.jpg|Start-Instellingen]]<br /><br /> | #* Klik op "Start" → "Instellingen". <br /><br />[[Image:WMwifi-002.jpg|Start-Instellingen]]<br /><br /> | ||
#* Er verschijnt een venster met de naam "Instellingen". Klik hierin op het tabblad "Verbindingen" onderaan en daarbinnen op het ikoon "Wi-Fi". <br /><br />[[Image:WMwifi-004.jpg|Instellingen]]<br /><br /> | #* Er verschijnt een venster met de naam "Instellingen". Klik hierin op het tabblad "Verbindingen" onderaan en daarbinnen op het ikoon "Wi-Fi". <br /><br />[[Image:WMwifi-004.jpg|Instellingen]]<br /><br /> | ||
− | #* Binnen het venster "Instellingen" kan men dan bovenaan lezen dat de draadloze netwerken geconfigureerd kunnen worden. | + | #* Binnen het venster "Instellingen" kan men dan bovenaan lezen dat de draadloze netwerken geconfigureerd kunnen worden. |
− | #* | + | #* Als u zich binnen het bereik van het draadlozen netwerk "Science" of "ru-wlan" bevindt, klik dan lang op het "Science" of "ru-wlan" netwerk en zet Wi-Fi uit. |
+ | #* Kies "Nieuw toevoegen ...". <br /><br />[[Image:WMwifi-005.jpg|Draadloze netwerken configureren 1]]<br /><br /> | ||
+ | #* Vul als netwerknaam "Science" of "ru-wlan" in, en klik rechtsonder op "Volgende".<br /><br />[[Image:WMwifi-006.jpg|Draadloze netwerken configureren 2]]<br /><br /> | ||
#* Kies binnen het scherm "Netwerkverificatie configureren" voor "WPA" en "TKIP" en klik rechtsonder op "Volgende".<br/><br/>[[Image:WMwifi-007.jpg|Netwerkverificatie configureren 1]]<br /><br /> | #* Kies binnen het scherm "Netwerkverificatie configureren" voor "WPA" en "TKIP" en klik rechtsonder op "Volgende".<br/><br/>[[Image:WMwifi-007.jpg|Netwerkverificatie configureren 1]]<br /><br /> | ||
#* Kies als EAP-Type voor "PEAP". Meestal kunnen de PEAP-eigenschappen niet aangepast worden, dat is prima. Als die wel aangepast kunnen worden zou er PEAPv0/MSCHAPv2 gekozen moeten worden. Klik daarna rechtsonder op "Voltooien". <br /><br />[[Image:WMwifi-008.jpg| Netwerkverificatie configureren 2]]<br /><br /> | #* Kies als EAP-Type voor "PEAP". Meestal kunnen de PEAP-eigenschappen niet aangepast worden, dat is prima. Als die wel aangepast kunnen worden zou er PEAPv0/MSCHAPv2 gekozen moeten worden. Klik daarna rechtsonder op "Voltooien". <br /><br />[[Image:WMwifi-008.jpg| Netwerkverificatie configureren 2]]<br /><br /> | ||
− | #* | + | #* Nadat evt. Wi-Fi weer aan gezet is en na invullen van loginnaam/wachtwoord (voor "Science") of U-nummer/S-nummer/RU-wachtwoord (voor "ru-wlan") en linksonder op "OK" klikken zal de verbinding met het draadloze netwerk tot stand komen.<br/><br/>[[Image:WMwifi-009.jpg|Gebruiker aanmelden]]<br /><br /> |
[/nl] | [/nl] | ||
[en] | [en] | ||
# '''Windows Settings''':<br /><br /> | # '''Windows Settings''':<br /><br /> | ||
+ | #* If you haven't changed your password for a long time, do so now. For "Science" go to [http://diy.science.ru.nl Do-It-Yourself], for "ru-wlan" to [http://www.ru.nl/wachtwoord the RU-password website]. | ||
#* Click "Start" → "Settings". <br /><br />[[Image:WM5-UK-wifi-screen1.jpg|Start-Settings]]<br /><br /> | #* Click "Start" → "Settings". <br /><br />[[Image:WM5-UK-wifi-screen1.jpg|Start-Settings]]<br /><br /> | ||
#* A window named "Settings" appears. In this window, click on the tab "Connections" and within that tab on the icon for Wi-Fi. For an HP iPAQ this is called "iPAQ Wireless".<br /><br />[[Image:WM5-UK-wifi-screen2.jpg|Settings]]<br /><br /> | #* A window named "Settings" appears. In this window, click on the tab "Connections" and within that tab on the icon for Wi-Fi. For an HP iPAQ this is called "iPAQ Wireless".<br /><br />[[Image:WM5-UK-wifi-screen2.jpg|Settings]]<br /><br /> | ||
#* In the next window, click on Wi-Fi settings. For an HP iPAQ the window looks like: <br /><br />[[Image:WM5-UK-wifi-screen3.jpg|iPAQ Wireless]]<br /><br /> | #* In the next window, click on Wi-Fi settings. For an HP iPAQ the window looks like: <br /><br />[[Image:WM5-UK-wifi-screen3.jpg|iPAQ Wireless]]<br /><br /> | ||
− | #* In the next window, subtitled "Configure Wireless Networks", | + | #* If you are within reach of the "Science" or "ru-wlan" wireless networks, click long on the "Science" or "ru-wlan" network and click "Turn off Wi-Fi". |
+ | #* Choose "Add New ...". | ||
+ | #* In the next window, subtitled "Configure Wireless Networks", fill in the name of the network, "Science" or "ru-wlan".<br /><br />[[Image:WM5-UK-wifi-screen4.jpg|Configure Wireless Networks]]<br /><br /> | ||
#* In the next screen, click the middle tab on the bottom of the screen "Network Key".<br/><br/>[[Image:WM5-UK-wifi-screen5.jpg|Configure Wireless Networks General ]]<br /><br /> | #* In the next screen, click the middle tab on the bottom of the screen "Network Key".<br/><br/>[[Image:WM5-UK-wifi-screen5.jpg|Configure Wireless Networks General ]]<br /><br /> | ||
#* In the next screen, titled "Configure Network Authentication", pick WPA/TKIP and click on the right tab on the bottom of the screen "802.1x".<br /><br />[[Image:WM5-UK-wifi-screen6.jpg|Configure Network Authentication Network Key]]<br /><br /> | #* In the next screen, titled "Configure Network Authentication", pick WPA/TKIP and click on the right tab on the bottom of the screen "802.1x".<br /><br />[[Image:WM5-UK-wifi-screen6.jpg|Configure Network Authentication Network Key]]<br /><br /> | ||
− | #* | + | #* Pick as EAP type "PEAP" in the next screen.<br/><br/>[[Image:WM5-UK-wifi-screen7.jpg|Configure Network Authentication 802.1x]]<br /><br /> |
− | [[Image:WM5-UK-wifi-screen8.jpg|Warning]]<br /><br /> | + | #* Probably the PEAP properties cannot be changed. This is no problem, since the PEAP-settings then will be PEAPv0/MSCHAPv2, which is correct for our network. If you try to change the settings, you get a warning.:<br /><br />[[Image:WM5-UK-wifi-screen8.jpg|Warning]]<br /><br /> |
− | [[Image:WM5-UK-wifi-screen9.jpg|User Logon]]<br /><br /> | + | #* Clicking 'OK" will give you, after you turned Wi-Fi on again if necessary, a logon screen, in which you have to type your loginname/password (for the "Science" network) or your U-number/S-number/RU-password to get connected to the network.<br /><br />[[Image:WM5-UK-wifi-screen9.jpg|User Logon]]<br /><br /> |
[/en] | [/en] | ||
− | |||
− | |||
− | |||
− |
Latest revision as of 13:52, 9 October 2013
Wireless Settings for Windows Mobile
- Windows Settings:
- If you haven't changed your password for a long time, do so now. For "Science" go to Do-It-Yourself, for "ru-wlan" to the RU-password website.
- Click "Start" → "Settings".
- A window named "Settings" appears. In this window, click on the tab "Connections" and within that tab on the icon for Wi-Fi. For an HP iPAQ this is called "iPAQ Wireless".
- In the next window, click on Wi-Fi settings. For an HP iPAQ the window looks like:
- If you are within reach of the "Science" or "ru-wlan" wireless networks, click long on the "Science" or "ru-wlan" network and click "Turn off Wi-Fi".
- Choose "Add New ...".
- In the next window, subtitled "Configure Wireless Networks", fill in the name of the network, "Science" or "ru-wlan".
- In the next screen, click the middle tab on the bottom of the screen "Network Key".
- In the next screen, titled "Configure Network Authentication", pick WPA/TKIP and click on the right tab on the bottom of the screen "802.1x".
- Pick as EAP type "PEAP" in the next screen.
- Probably the PEAP properties cannot be changed. This is no problem, since the PEAP-settings then will be PEAPv0/MSCHAPv2, which is correct for our network. If you try to change the settings, you get a warning.:
- Clicking 'OK" will give you, after you turned Wi-Fi on again if necessary, a logon screen, in which you have to type your loginname/password (for the "Science" network) or your U-number/S-number/RU-password to get connected to the network.